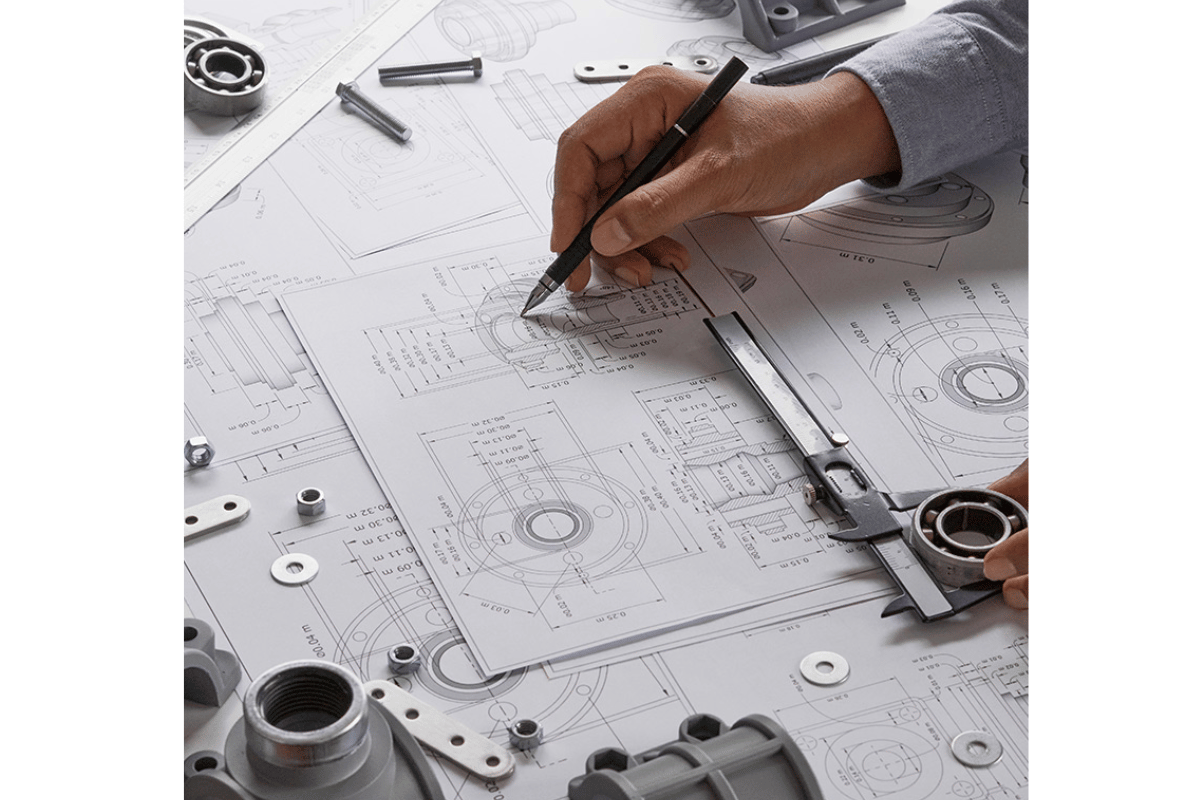

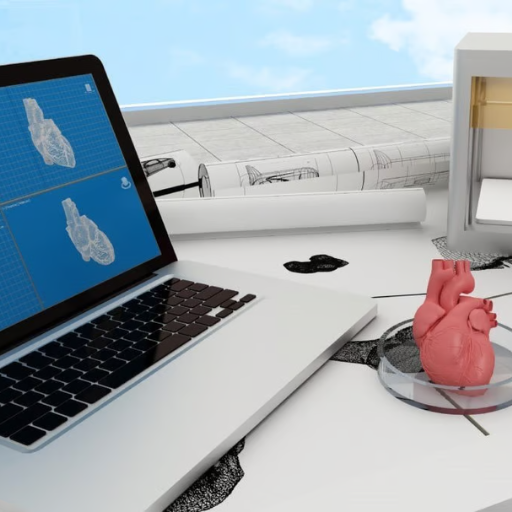
What is an sldprt file?

Image source: https://www.iconfinder.com/
The file format used by SolidWorks to store part design information is called a sldprt file. It contains 3D geometry, metadata and specifications for creating and representing a component in digital environment. These files are an integral part of the creation, editing, and testing of complex three-dimensional models and as such they are essential to engineers and designers across different sectors.
Understanding the sldprt file format
Key Technical Parameters:
- 3D Geometry: This describes the form of the model’s spatial composition or size through its vertices, edges, surfaces and solids.
- Metadata: This includes items such as material properties like densities, tensile strengths; dimensions; tolerances; and annotations.
- Design History: It records design changes such as feature tree modifications.
- Surface and Solid Data: B-Rep (Boundary Representation) and NURBS (Non-Uniform Rational B-Splines) surfaces.
- Configuration Data: Each file stores various design variations or configurations within it at once.
- Feature Information: It contains information about extrusions, cuts, holes, fillets among other important design features.
- Simulation Data: Includes information required to simulate that part in different conditions
The role of SolidWorks in creating sldprt files
The creation of sldprt files entails using SolidWorks, which is a 3D CAD design simulation and analysis toolset. It has solid modeling capabilities that are powerful and it is used by engineers and designers to create 3D models in great detail of individual parts and assemblies, which are then saved in the sldprt file format. For sketching, part modeling, surface modeling, complex geometries can be defined with accuracy because the software poses robust features.
Furthermore metadata, design history and simulation data can be included in SolidWorks to ensure thorough documentation and analysis for every aspect of the part design. Parametric design tools, feature-based editing capability and real-time collaboration have been provided for effective modeling processes by Solidworks team. Such an approach guarantees not only that the sldprt files produced capture design intentions but also meet manufacturing requirements; thus facilitating a smooth progression from conception to production.
Differences between sldprt and other CAD formats
Various key differences are evident when comparing sldprt files with other CAD formats like IGES, STEP and STL. Firstly, sldprt files are specific to SolidWorks and contain the entire design data such as parametric features, sketches, assembly references being some of them. These unlike IGES and STEP formats serve as neutral file format meant for compatibility among several CAD systems which may result in loss of some parametric data during conversion.
On the other hand, STL files are mainly used in 3D printing and rapid prototyping whereby the surface geometry is saved as a mesh of adjacent triangles. However, unlike sldprt files, shape quality rather than design history or any parameterized aspects takes precedence in STL files. Furthermore, while sldprt files can have rich metadata, extensive design history and feature-based modeling abilities; others like DXF or DWG are best suited for 2D designs like drawings that lack sophisticated 3D modeling capacities typical to sldprt. Therefore it is necessary to know these dissimilarities because every format has its own purpose so that one can select the most suitable one for a given use case.
How to open an sldprt file without SolidWorks

Using eDrawings® to view sldprt files
Sldprt files can be viewed using eDrawings®. Start by downloading eDrawings Viewer from the official website and installing it on your computer. Here’s how you can open an sldprt file once it is installed:
- Launch eDrawings®: Open the eDrawings Viewer application.
- File Menu: Click on the “File” menu at the top-left corner of the window.
- Open File: Select “Open” and browse to the location of your sldprt file. Select the file and click “Open”.
Technical Parameters and Features:
- Compatibility: eDrawings Viewer supports SolidWorks parts (.sldprt), assemblies (.sldasm), and drawings (*.slddrw) files.
- Viewing Options: Rotate, pan, and zoom tools are available for detailed inspection of the model.
- Measuring Tools: You can use tools to measure distances, angles, and radii within the model.
- Mark-Up and Annotations: Users can add markups and annotations to communicate feedback or design changes.
- Printing: The viewer allows you to print the model with various options for scaling and adjustments.
By using eDraiwngs Viewer instead of any other program, people not only get incredible opportunities for viewing sldprt files but also receive an opportunity for working with such files even if they do not have any version of SolidWorks running on their computers due to which access becomes easier for those who do not have software license for Solid Works at hand either-way use these products effectively.
Third-party tools compatible with sldprt
There are several third party tools that enable a person view without having solid works license can work with SLDPRt drawings. They include:
- Autodesk Fusion 360: It provides cloud-based CAD capabilities, supports various file formats including sldprt. This tool is a very powerful and effective tool that enables both professionals and individuals to make use of its robust modeling features as well as collaboration tools.
- FreeCAD: As a parametric 3D CAD modeler, FreeCAD is an open source software that supports sldprt among other formats. This means that users who want free software for viewing and editing their CAD files would find it useful. It can be customized and expanded due to its modular architecture hence makes it ideal for engineering and design applications in various fields.
- GrabCAD Workbench: It supports many formats including SLDPRt files, lets you store, view and manage your designs online via this collaborative platform. The latter provides versioning control, file organization structure whilst also having tools to initiate review sessions thus making it appropriate for team work purposes.
Converting sldprt to a universally accessible format
This can greatly foster openness between different CAD programs by allowing conversion of sldprt files into universally accessible formats such as STEP, IGES and STL. Below are some ways to achieve this:
- Using SolidWorks: From within SolidWorks, you may open an sldprt file and then ‘Save As’ by selecting one of the options available on the dialog box like STEP (.stp), IGES (.igs), or STL (.stl). This process assures accuracy during the conversion while preserving original design features.
- CAD Exchanger: CAD Exchanger is an online service that provides various supported formats for sldprt conversion. Upload your sldprt file to CAD Exchanger which will convert it into more commonly used formats like STEP, IGES or STL for other CAD applications.
- Online Converters: There are websites like AnyConv and CoolUtils that offer free online conversions for sldprt files. Normally, these platforms support many output formats thereby providing a fast solution for users who require quick conversions without any software installation.
Converting sldprt files to stl for 3D printing
Converting sldprt to STL using SolidWorks
To convert your sldprt files into STLs for 3D printing by SolidWorks, open your sldprt file in Solidworks and then choose ‘Save As’. Pick the File Format as STL from available options. Click on options before you save to alter any export settings of the STL that might optimize resolution and quality. With this technique, one can guarantee that a design is accurate enough for 3D printing.
Using Online Converters
Also coolutils and anyconv are some of the online converters that can assist you in turning your sldprt files into stl format. Select stl as an output format after uploading your sldprt file to desired platform and proceed with conversion process. This way quickly converts formats without involvement of complicated software.
CAD Exchanger for Conversion
Another dependable manner of converting SLDRT files into STL is through CAD Exchanger. You only need to upload your SLDRT file on the platform so as it converts it into STL thus ensuring consistency in quality and compatibility with 3-D printers projects.
Step-by-step guide to convert sldprt to stl
It is a must that you convert sldprt files to STL format for 3D printing. Here is how to go about it smoothly:
- Open the sldprt File in SolidWorks:
Start by launching your SolidWorks platform and open the selected sldprt file.
- Select ‘Save As’:
Hover ‘File’ from the menu bar and click on ‘Save As.’
- Choose the STL File Format:
In ‘Save As’ dialog, pick STL (*.stl) as one of the available file formats.
- Adjust Export Settings:
- Click ‘Options’ button of ‘Save As’ window to configure export settings.
- Output as:
-
- Binary (recommended for smaller file sizes)
- ASCII (useful for editing the file in text format)
- Resolution:
- Deviation: Set to 0.01 mm for finer details.
- Angle: Set to 5 degrees to balance between file size and detail.
- Preview the tessellation to check for errors or adjustments needed.
- Save the File:
- Click ‘OK’ to confirm the settings and then ‘Save’ to generate the STL file.
Ensuring compatibility of the converted stl file with 3D printers
To make certain that your transformed STL file is compatible with 3D printers, here are the guidelines you should follow.
- Check File Integrity:
Inspecting STL files for errors such as holes or non-manifold edges which can cause problems when printing using software tools like Netfabb and Meshmixer.
- Verify Dimensions:
The size of your model should fit in your 3D printer’s build volume, otherwise scale it accordingly so as to accommodate the printer’s limitations.
- Optimize the Model:
Models that have too much detail can be simplified while still maintaining their integrity by making them smaller. This way, there will be no mistakes during slicing and the print time will also decrease.
- Ensure Watertight Geometry:
Your STL file must possess a water tight geometry meaning the mesh should have no gaps or openings; this helps to avoid any misunderstanding between the slicer and the structure.
- Select Appropriate Slicer Settings:
Slicer software e.g., Cura, PrusaSlicer or Slic3r among others compatible with a 3D printer usually allows configuring settings such as layer height, amount of infill, support structures according to what a printer can do.
- Test Prints:
Before embarking on a large or complex print job for instance, it is important to test print with a scaled down version of your model just to ensure compatibility and identify potential pitfalls early enough.
Exporting and sharing sldprt files effectively

To export and share Sldprt files efficiently, you need to make them accessible for other users. Here is a short list of recommendations:
- Export as Different File Types:
These can be sldprt files converted to more universally accepted formats such as STEP (.stp/.step), IGES (.igs/.iges), or STL, which largely increases their compatibility with various CAD and 3D printing software.
- Check for File Integrity:
The file errors are identified when these files are reopened by the right software for verification purposes. The design’s features that have been omitted or damaged data that the receiver cannot read should be considered.
- Include Necessary Documentation:
Make sure you provide some brief information or documentation about what this file is all about, its major dimensions, its use and any peculiar instructions. As a result, the receiver will have an idea of where it fits in within your overall project.
- Use Compression:
For easy sharing compress large files into zip format; this also minimizes chances of data becoming corrupt during transfer.
- Choose the Right Sharing Method:
Cloud storage (Google Drive, Dropbox) or dedicated transfer services (WeTransfer) that facilitate secure delivery are best while transferring online.
Best practices for exporting sldprt files
Export as Different File Types:
To ensure compatibility, it’s essential to convert sldprt files into formats that are more widely accepted. Below are some of the main formats and their uses:
- STEP (.stp/.step): This format is perfect for interoperability and preserving high levels of detail, which is why it is so popular with industrial designers and mechanical engineers.
- IGES (.igs/.iges): It is good for geometric data transfer without much annotation. It can also be used for CAD to CAD exchange greatly.
- STL: This format works best when used in 3D printing applications but may not retain feature-based information.
Check for File Integrity:
Upon exporting, re-import the exported files back into a compatible software to check their integrity. Ensure there are no missing or damaged features as follows:
- Key steps:
- Re-open the exported file in the original CAD software.
- Conduct a visual check for missing features.
- Run validation tools, if available, to detect geometric inaccuracies.
Include Necessary Documentation:
Always provide accompanying documentation that includes:
- File contents summary.
- Key dimensions: as measured in CAD software.
- Intended use: e.g., prototype, final product.
- Special instructions: Any critical notes or requirements for the recipient.
Use Compression:
In order to minimize chances of corruption during transfer, large files should be compressed into a ZIP file. Considerations include:
- Compression ratio: Higher ratios reduce size but may increase compression time.
- Software used: Ensure compatibility with recipient’s extraction tools.
Choose the Right Sharing Method:
The choice of a reliable and secure method of sharing your files should be made from among these options:
- Cloud Storage: Google Drive, Dropbox for ease of access and collaboration.
- Dedicated Transfer Services: WeTransfer for larger files and temporary sharing.
Options for sharing SolidWorks part files
Selecting the right way of sharing SolidWorks part files is vital in preserving file integrity and facilitating smooth cooperation. Below are shorter ways to share these files effectively based on the top three websites on google.com:
1. Cloud Storage Solutions: Make use of widely-known cloud storage services like Google Drive, Dropbox, and OneDrive. These platforms are easy to use with strong security features and quick file sharing capabilities among multiple users. Other advantages include version control, real-time collaboration, and large storage capacity.
2. Dedicated Transfer Services: For sending larger files quickly yet securely, WeTransfer and Hightail perform excellently. Such tools often allow you to send files which may reach several gigabytes in size without requiring account creation. Additionally they support one-time sharing that’s suitable for urgent projects.
3. CAD Software Platforms: SolidWorks itself provides a way for users to share their part files through its internal collaboration features. In addition these platforms help maintain details and settings of component files hence maintaining their soundness while also coming handy with special CAD file management tools alongside team workflow designs.
Managing file versions and compatibility
In working with SolidWorks part files, it is very important to manage file versions and compatibility effectively so that everybody can be on the same page and access what they need without compatibility issues. Here are some brief ways of doing this:
1. Use of PDM Solutions: Version control is a major advantage that comes with Product Data Management (PDM) systems like SolidWorks PDM, Autodesk Vault, or Teamcenter. These keep track of all changes made in the document, retain a history of revisions and ensure everyone else is working with the latest version. They also work hand in hand with CAD software hence maintaining consistency among different versions.
2. Regular File Audits and Backups: One way to monitor changes and revert back to previous versions when required is by carrying out regular audits alongside backups for your part files e.g Backup4all or EaseUS Todo Backup which automates this enabling you to have something to fall onto incase your data gets lost or corrupted.
3. Compatibility Settings in CAD Software: in CAD Software: Saving files into formats that are universally accessible such as STEP or IGES and keeping up-to-date other CAD software can help maintain compatibility among various versions of SolidWorks. In addition, SolidWorks provides options for backward compatibility making it possible for files created in newer editions to be opened using older editions therefore minimizing workflow interruptions.
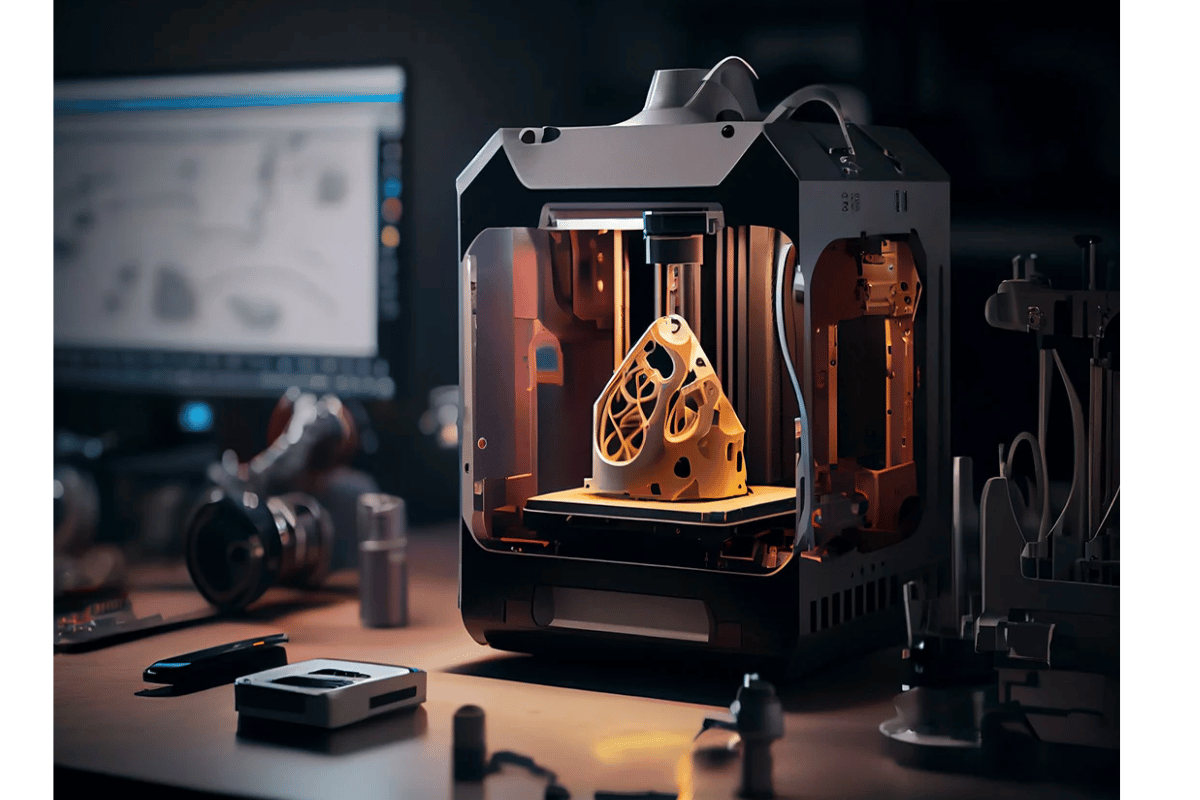
Learning more about sldprt file format for 3D printing
The sldprt file format is native to SolidWorks and contains 3D part data, including geometry, material properties, and design features. It is essential for users of 3D printing technology to know about this format in order to achieve accurate and successful prints.
1. Converting sldprt to 3D Printable Formats: Sldprt files usually have to be changed into more widely accepted formats like STL (stereolithography) before being used for 3D printing. It is a well-known fact that most 3D printers and slicers support this type of file. By doing so, the integrity of the three-dimensional figure will not be compromised because there are tools integrated in SolidWorks which help in undertaking such conversions.
2. Ensuring Printability: Before conversion takes place, there is need to confirm if the model can be printed. This involves checking for any non-manifold geometries, ensuring that walls are thick enough and satisfying specific requirements of targetted 3D printing technology such as FDM, SLA or SLS.
3. Optimization for 3D Printing: Optimize your model by moving it to the best orientation that will minimize the number of supports required for printing; adjust resolution against both details desired and size of resulting files; consider infill patterns for better strength yet limited use of materials at print time.
How sldprt files revolutionize 3D printing
1. Streamlined Design Process: Sldprt file format promotes streamlined design process as it captures critical data within one file including geometry, material properties and design features hence reducing the need of using many files and avoiding transfer errors.
Technical Parameters:
- Geometry: Indicates the shapes and forms that help in detailed replication of 3D model.
- Material Properties: Information on material characteristics such as density, mechanical properties among others.
2. Enhanced Precision and Detail: Designers are able to achieve higher precision and delicate details required for complex functional 3D prints through sldprt files. This format supports models of high resolutions thus enabling fine detailing and accurate reproduction of design specifications.
3. Seamless Integration with SolidWorks: Sldprt files are native to SolidWorks, this means they align with the robust designing tools and analysis software offered by this program. Hence, whenever a model is converted into a three-dimensional printable form, it retains its originality without distortion or compromise.
Technical Parameters:
- Resolution: How much information is contained in the file that may be printed; can be set higher to allow more detail (higher resolution for more detail).
- File Integrity: To avoid any data being lost during conversion but still retain all designs made.
4. Improvement in Print Quality: This enables designers to eliminate printability issues like non-manifold edges and wall thickness by using sldprt files hence better quality prints with reduced defects.
Technical Parameters:
- Wall Thickness: Ensuring that walls are not too thin to be printed or too thick leading to wastage.
- Non-Manifold Geometry: Checking if there are any surfaces with non-manifold edges which would make them unprintable thereby necessitating repairs before proceeding.
5. Efficiency in Production: The consolidation of these design features along with material properties In sldpart files leads efficient production workflow right from designing up to final print hence cuts down on production time as well as costs incurred in this process.
Benefits of using SolidWorks for 3D model creation
SolidWorks is an industry leader because it offers a variety of tools that are specifically made to create 3D models. The most important benefits are listed below:
- Intuitive User Interface: SolidWorks has a friendly and intuitive user interface which allows designers to rapidly make complicated models due to their parametric design capabilities thereby making it suitable for both the novices and experienced.
- Robust Design Features: This software involves various design aspects like solid modeling, surface modeling, and sheet metal design. These facilities enable designers produce high quality models with finer details hence improving the overall quality of the design.
- Simulation and Analysis Tools: Simulation testing and validation of designs under real-world conditions can be done through powerful simulation and analysis tools included in SolidWorks. As such, potential problems can be detected early in the design stage hence reducing prototype costs.
- Collaboration and Data Management: Teams using SolidWorks PDM – Product Data Management can successfully collaborate on projects ensuring secure management of all design data with easy access. It improves workflow efficiency by eliminating redundancies among different departments.
- Seamless Integration with Manufacturing: To ensure continuity from designing to production, SolidWorks integrates smoothly with CAM (Computer-Aided Manufacturing) software. Its integration helps maintain soundness of design while minimizing production time.
Fusion 360 and SolidWorks®: Comparing 3D CAD software
As for this software, the two perform excellently and have very powerful features that can be customized to fit any user’s preference or requirements. These are some of the things picked out from various sources:
- Ease of Use: Fusion 360 is often lauded for its intuitive design language and its cloud based nature that allows it to be accessed from anywhere as well as easy collaboration on the same project. However unlike Fusion 360, SolidWorks® has a steep learning curve but offers more depth and detail which makes it more suitable for power users and those who necessitate advanced functionality.
- Collaboration and Cloud Features: In this regard, Fusion 360 does a better job with real-time teamwork capabilities in addition to cloud storage. On the other hand, SolidWorks® uses traditional methods where there is robust local storage alongside powerful Product Data Management (PDM) systems that are ideal for large teams dealing with complex projects.
- Modeling and Simulation: One of the most outstanding tools bundled into SolidWorks® include an array of simulation tools used for detailed validation and testing under realistic conditions. The good thing about Fusion 360 is also that it has strong modeling capacities but is particularly distinct in integrating CAD, CAM, CAE tools into one system to speed up the process of designing products to manufacture.
- Pricing and Accessibility: It is much cheaper in terms of pricing hence affordable via flexible subscription plans making it within reach even by small companies seeking their first CAD software package. Its high price point reflects its extensive feature set as well as support for sophisticated industrial applications compared to its peers like Fusion 360.
Troubleshooting common issues with sldprt files
Take the following steps to resolve the common issues you may encounter with SLDPRt files:
- File Corruption: If a file seems corrupted or does not open, try using SolidWorks® “Open and Repair” feature. This is designed to fix any problems automatically occurring within a file.
- Version Compatibility: You need to check that your version of SolidWorks® is compatible with this sldprt file. Every time there are updates in SolidWorks®, files created in new versions may not be opened in old ones. It might be necessary to update your software or save a copy in an appropriate format.
- Graphics and Display Issues: Updating your graphics card drivers and configuring SolidWorks® correctly for your hardware often resolves graphic or display problems. Check out the official list of approved drivers at SolidWorks® Graphics Card Drivers page.
- Missing References: If an assembly has missing references for its sldprt file, all referenced files must exist and be reachable. Make use of “File Locations” so that you can set up proper paths.
- Performance Problems: For heavy, complex sldprt files, you can optimize the model, simplify geometry or use lightweight mode as performance enhancers. Performance can also be improved by modifying settings under “Document Properties”.
Addressing compatibility issues with older versions of SolidWorks
Several factors can cause compatibility issues with older versions of SolidWorks®, and solving them effectively encompasses understanding the software differences as well as nuances in file versions. Some concise steps and technical parameters that go hand in hand with each other are discussed below:
- Check File Version: Discover which version of SolidWorks® was used to generate the sldprt file. If it is created in a newer version, it may not be compatible with older ones. Use “File Version” tool or go to the properties of the file.
- Save as Previous Version: When saving files in a new version of SolidWorks®, use “Save As” option and if possible, select an older version format. While some features or aspect maybe preserved partially.
- Upgrade Recommendation: It is highly advisable for people to upgrade their SolidWorks® so that they may enjoy using other files across different scenarios. Newer versions usually come along with security upgrades and updated features which are not available on old ones.
- File Formats and Interchangeability: Where backward compatibility becomes a frequent issue, assess neutral file formats such as IGES, STEP, or Parasolid. These formats typically have wider acceptance across various CAD systems and versions.
- Technical Parameters to Validate:
- System Requirements: Ensure that both older versions and newer versions are recommended for use by checking whether system specifications comply with those recommendations for running this program.
- Graphics Drivers: To achieve great performance and maximum compatibility ensure you have graphics drivers endorsed by SolidWorks®.
- SP (Service Packs): Many people solve compatibility issues when they install latest service packs corresponding to their respective SolidWorks® releases.
Solving problems when converting sldprt to stl format
Sometimes, when you are converting SLDPRT (SolidWorks Part) files to STL (Stereolithography), it can be challenging. The following are the essential steps that will lead to a seamless process of conversion:
- Check Part Integrity: Prior to conversion, ascertain that no errors exist in the SLDPRT file. To identify and remedy such matters use the SolidWorks® “Import Diagnostics” feature.
- Adjust Export Settings: In SolidWorks®, navigate to the ‘Save As’ dialog box then select STL. Use “Options” button on this dialog box and make some adjustments on export settings. Choose ‘Binary’ instead of ‘ASCII’ for smaller file size and faster processing time. You may also adjust resolution settings slightly such as higher or lower depending upon your preference.
- Reduce File Complexity: For instance, things like features or details which are unnecessary should be removed so as to simplify models. High complexity may result into larger STL files and errors during conversion.
- Use Third-Party Tools: When SolidWorks® fails to convert a file correctly, consider using other software programs such as MeshLab or FreeCAD instead; most of these cases that happen within the application get resolved by these tools.
- Update Software and Plugins: Ensure you have updated both SolidWorks® and their plugins up to date versions because there could be compatibility problems that would disrupt your file conversion.
Tips for efficient CAD design and file management
- Organize Your Files: Make sure that your file naming and file directory systems are structured. This is of great help as it eases file identification and management, especially in collaborative working conditions. PDM tools like Product Data Management can help simplify the process.
- Utilize Templates and Standards: Create design templates and standards for every other staff in your organization. This helps to ensure uniformity and saves time by avoiding repetitive setup activities for each new project.
- Optimize Performance: You must continually update software and hardware, clean out temporary files, adjust complexity levels of CAD models to keep the system going smoothly. Making your model simpler while employing lightweight parts can lead to a great improvement in performance.
- Back-Up Regularly: Always have backup copies of your work either on local servers or cloud based solutions to protect against data loss in case of unexpected hardware faults or mistakes.
- Leverage Version Control: Use this program to systematically manage modifications and revisions. It also allows you to keep track of any changes made on the design as well as easily access different versions.
- Collaborate and Communicate: Collaborative tools platforms that enable instant messaging and shared data among co-workers should be used. Projects occur more quickly when people work together without misunderstanding.
Reference sources
- Summary: This source provides a comprehensive overview of the SLDPRT file format for 3D printing. It discusses how SLDPRT files are binary stored data closely held by Dassault Systemes, aiming to streamline the 3D printing process.
- Summary: This article delves into the specifics of SLDPRT files created by Dassault Systemes SolidWorks, explaining that they represent parts of manufactured items. It serves as a practical guide on understanding and accessing .sldprt files.
- Summary: This source explores the utilization of SLDPRT files in additive manufacturing processes, emphasizing how SolidWorks’ product data management feature facilitates teams to work collaboratively on design files. It offers insights into the effective usage of SLDPRT files in manufacturing workflows.
These sources collectively provide a well-rounded understanding of SLDPRT files, covering their creation, usage, and significance in the realm of 3D modeling and manufacturing.
Frequently Asked Questions (FAQs)
Q: What is an sldprt file type?
A: An sldprt file is a 3D SolidWorks file used to create specific design features of 3D objects. It’s a part file format created by Dassault Systèmes SolidWorks, a popular computer-aided design (CAD) software. These files contain binary data on the geometry or shape of the part designed in SolidWorks, allowing for detailed and precise 3D modeling.
Q: Can sldprt files be opened in software other than SolidWorks?
A: Yes, sldprt files can be opened in alternative software other than SolidWorks. While SolidWorks is the primary software used to create and edit these files, certain programs like AutoCAD, the SolidWorks Viewer, and other CAD software packages offer limited compatibility. They may allow users to view or perform basic edits on sldprt files, but for full functionality, SolidWorks software is recommended.
Q: Is it possible to convert sldprt files to other file formats?
A: Yes, sldprt files can be converted to alternative file formats such as STL (for 3D printing), OBJ, Autocad’s DWG, and STP. This conversion allows for broader compatibility with other CAD software and for purposes like 3D printing, reverse engineering, and sheet metal fabrication. Tools and services are available for these conversions, although they might require specific design features to be considered during the process.
Q: Can I use sldprt files for 3D printing?
A: Yes, sldprt files can be used for 3D printing, but they first need to be converted into a compatible format like STL or OBJ. These formats are commonly accepted by 3D printing software, which translates the 3D design into G-code to guide the 3D printer. It’s crucial to ensure the file preserves its dimensional accuracy and specific design features during conversion.
Q: Are there any free tools to view sldprt files without SolidWorks?
A: Yes, there are free tools available to view sldprt files without the need for SolidWorks. The SolidWorks Viewer, offered by Dassault Systèmes, is a popular choice. Additionally, several third-party viewers and CAD programs offer limited viewing capabilities for sldprt files, allowing for inspection without the full SolidWorks suite.
Q: How are sldprt files important in the engineering and manufacturing process?
A: Sldprt files play a crucial role in the engineering and manufacturing process as they enable precise 3D modeling and design of parts. These files can be directly used to create prototypes, conduct simulations, and guide computer-aided manufacturing processes, including CNC machining and 3D printing. The detailed information within sldprt files ensures that specific design features are accurately represented, making them invaluable for product development and production.
Q: Can sldprt files contain more than one part design?
A: No, sldprt files typically contain the data for a single 3D part design. SolidWorks uses different file types for assemblies (SLDASM) that can incorporate multiple part (SLDPRT) files into a single project. However, each sldprt file is designated for one component, ensuring that each part’s design features are managed distinctly for clarity and precision in the engineering process.
Q: What should I do if I receive a sldprt file but do not have SolidWorks?
A: If you receive an sldprt file but do not have SolidWorks installed, you can use a viewer like the SolidWorks Viewer, eDrawings Viewer, or another compatible CAD viewer to open and inspect the file. For further editing or to use the file for manufacturing purposes, you might need to convert it to a different format compatible with your available software or request a converted file from the sender.