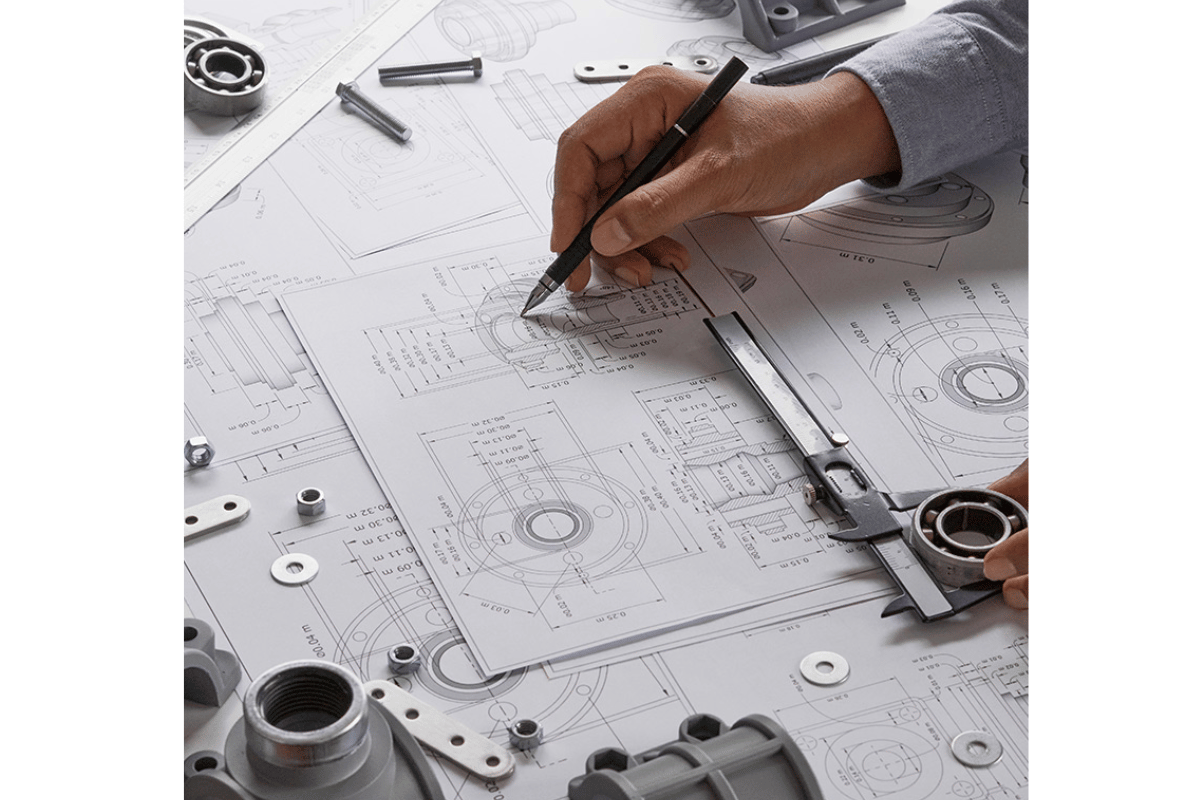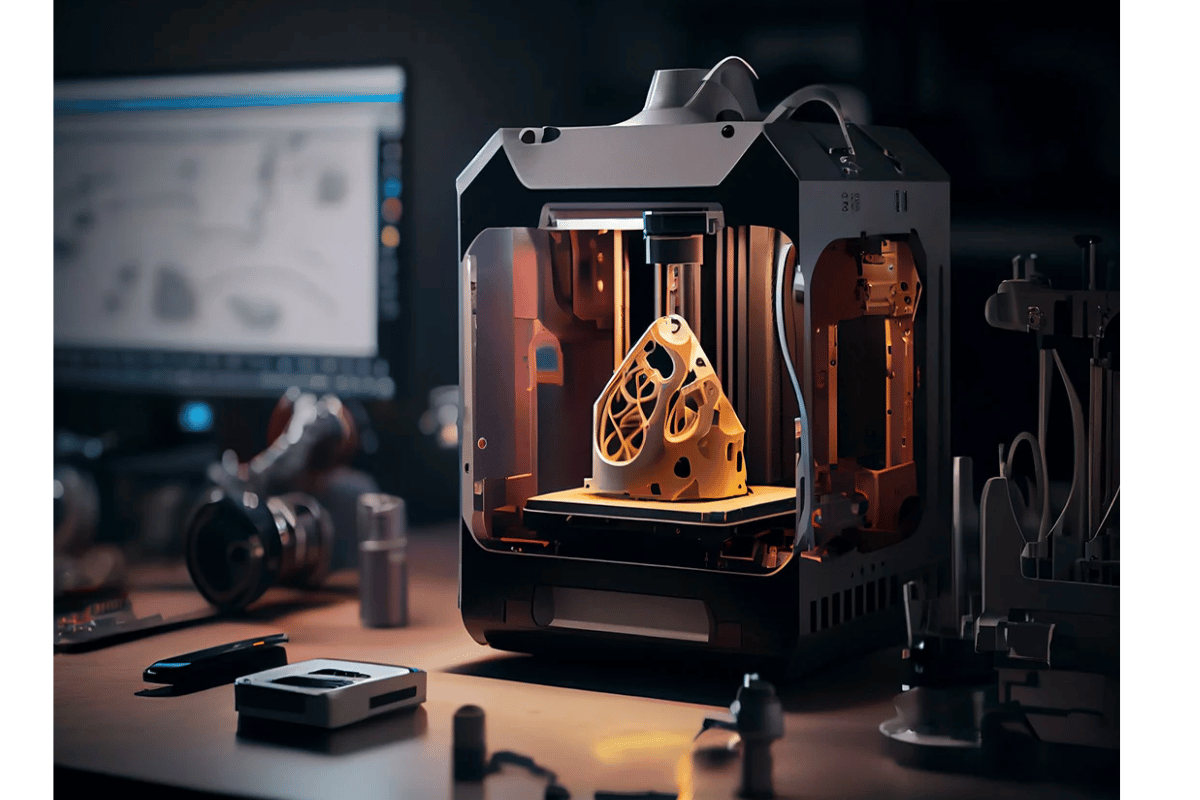

Upgrading your 3D printer with a metal extruder can significantly enhance your printing performance, durability, and reliability. In this article, we will explore some of the most effective and popular metal extruder upgrades available on the market. These upgrades are tailored to improve various aspects of your 3D printing experience, ranging from increased precision to superior filament handling. Whether you are a hobbyist looking to refine your prints or a professional aiming for industrial-level production, understanding and implementing these metal extruder upgrades will propel your 3D printer’s capabilities to new heights. Join us as we delve into the critical features, specifications, and benefits of each upgrade to help you make an informed decision for your 3D printing needs.
What Are the Best Metal Extruders for Creality 3D Printers?
Image sources:http://www.tz.com.cn/
When considering metal extruder upgrades for Creality 3D printers, several options stand out due to their performance, precision, and durability. The following are some of the best metal extruders you can install on your Creality 3D printer:
- Bondtech BMG Extruder: Known for its dual-drive technology, the Bondtech BMG extruder offers excellent filament grip and precision. It is compatible with various materials, making it a versatile choice for your Creality printer.
- E3D Titan Extruder: Combining lightweight design with high torque, the E3D Titan extruder enhances filament control and minimizes slippage. Its adaptability to different hotends makes it a popular upgrade.
- Micro-Swiss All-Metal Extruder: This extruder is renowned for its all-metal construction, providing superior heat tolerance and reduced wear and tear. It includes a dual-gear system, ensuring consistent extrusion and high-quality prints.
- Creality Metal Extruder Kit: Specifically designed for Creality printers, this metal extruder kit provides a straightforward upgrade path with enhanced durability and improved filament feeding.
Each of these extruders brings unique advantages to the table, ensuring a boost in your 3D printer’s performance and reliability. Consider your specific printing needs and material preferences when selecting the best metal extruder for your Creality 3D printer.
Why Choose a Metal Extruder for Your Ender 3 V2?
Upgrading to a metal extruder on my Ender 3 V2 has proven to be a valuable enhancement due to several factors. Firstly, metal extruders offer increased durability over plastic ones, which means I spend less time worrying about wear and tear and more time focusing on printing. Additionally, the superior grip on the filament provided by metal extruders enhances precision and reduces the likelihood of slippage, leading to more consistent and higher-quality prints. Another significant benefit is their improved thermal efficiency; metal extruders handle higher temperatures much better, allowing me to experiment with a broader range of filament types. Lastly, the sturdiness of a metal extruder translates to enhanced overall reliability and smoother operation, ensuring my 3D printing projects run seamlessly.
Comparing the Ender 3 Pro to the Ender 5 Plus
When comparing the Ender 3 Pro to the Ender 5 Plus, several key technical parameters highlight their differences and respective advantages.
- Build Volume:
- Ender 3 Pro: 220 x 220 x 250 mm
- Ender 5 Plus: 350 x 350 x 400 mm
- Justification: The Ender 5 Plus offers a significantly larger build volume, making it suitable for larger projects.
- Frame Design:
- Ender 3 Pro: Open-frame, single Z-axis
- Ender 5 Plus: Cube-frame, dual Z-axis with four lead screws
- Justification: The Ender 5 Plus provides enhanced stability and precision due to its robust frame and dual Z-axis configuration.
- Print Bed:
- Ender 3 Pro: Removable magnetic bed, heated
- Ender 5 Plus: Tempered glass bed, heated
- Justification: A glass bed on the Ender 5 Plus offers a flatter surface for better adhesion and smoother prints.
- Power Supply:
- Ender 3 Pro: MeanWell 350W
- Ender 5 Plus: MeanWell 500W
- Justification: The higher wattage of the Ender 5 Plus’s power supply ensures faster heating times and more stable temperature control.
- Filament Run-out Sensor and BLTouch Auto-Leveling:
- Ender 3 Pro: Optional upgrade
- Ender 5 Plus: Included as standard
- Justification: The standard inclusion of these features in the Ender 5 Plus facilitates more user-friendly operation and greater print success rates.
- Price:
- Ender 3 Pro: Approximately $200 – $250
- Ender 5 Plus: Approximately $500 – $600
- Justification: While the Ender 5 Plus is more costly, its advanced features and greater build volume justify the higher price tag for users requiring these capabilities.
In summary, the Ender 3 Pro is a cost-effective, reliable option for everyday printing tasks, whereas the Ender 5 Plus represents a more advanced machine with greater build capacity and enhanced features for users seeking higher performance and versatility in their 3D printing projects.
Benefits of Using a Stainless Steel Extruder
Using a stainless steel extruder in 3D printing offers numerous advantages, significantly enhancing the print quality and reliability. Firstly, stainless steel extruders are highly durable and resistant to wear and corrosion, ensuring a longer lifespan compared to those made from other materials. This resistance to abrasion is especially beneficial when working with abrasive filaments such as carbon fiber, wood-filled, or metal-filled filaments.
Secondly, stainless steel extruders provide better thermal conductivity, which contributes to more consistent and stable extrusion temperatures. This thermal stability helps in maintaining the integrity of the printed materials and reducing print failures due to temperature fluctuations. Additionally, stainless steel’s higher melting point reduces the risk of nozzle clogging and degradation at higher temperatures, making it suitable for high-performance and high-temperature filaments.
Finally, the ease of maintenance is another crucial benefit. Stainless steel is easier to clean and less likely to suffer from filament buildup or blockages that can interrupt the printing process. This ensures smoother, more efficient operation and consistent print quality over time. In summary, the use of a stainless steel extruder enhances the reliability, durability, and efficiency of the 3D printing process, making it a valuable upgrade for both amateur and professional users.
How to Upgrade Your Extruder: Step-by-Step Guide
Upgrading your extruder to a stainless steel model involves several precise steps to ensure proper installation and optimal performance. Follow this step-by-step guide to achieve a successful upgrade:
- Gather Tools and Materials: Before starting, ensure you have the necessary tools, including an Allen wrench set, screwdrivers, pliers, and any specific tools recommended by the extruder manufacturer. Also, keep the new stainless steel extruder, thermal paste, and any replacement screws or components at hand.
- Power Down and Unplug: Always start by powering down your 3D printer and unplugging it from the power source to ensure safety throughout the process.
- Remove the Existing Extruder:
-
- Detach Filaments: Remove any filament from the current extruder to prevent any entanglement.
- Unscrew Mounting Hardware: Using the appropriate tools, unscrew and remove the mounting hardware that secures the existing extruder to the printer.
- Disconnect Wiring: Carefully disconnect any wiring and connectors attached to the extruder, keeping track of their positions for reassembly.
- Prepare the New Extruder:
- Clean Contact Points: Ensure all contact points on the new stainless steel extruder are clean and free from debris.
- Apply Thermal Paste: Apply a thin layer of thermal paste to the relevant surfaces to facilitate better heat transfer.
- Install the New Extruder:
- Attach the Setup: Securely attach the new extruder to the printer using the provided mounting hardware. Ensure it is firmly in place without over-tightening.
- Reconnect Wiring: Reconnect all wiring and connectors, ensuring each connection is secure and correctly positioned.
- Calibrate the Extruder:
- Software Configuration: Update your printer’s firmware settings to accommodate the new extruder specifications.
- Heat and Test: Heat the extruder to the operating temperature and extrude a small amount of filament to ensure everything is functioning correctly.
- Final Checks: Conduct a series of test prints to verify the performance and make any necessary adjustments to the extruder and printer settings.
By following these detailed steps, you can effectively upgrade your extruder to a stainless steel model, enhancing the overall reliability and print quality of your 3D printer.
Necessary Tools and Components for an Extruder Upgrade
When preparing to upgrade your 3D printer extruder, having the correct tools and components is paramount. Here is a comprehensive list aligned with the technical parameters required for a successful upgrade:
- Tools:
-
- Hex Wrenches: A set of hex wrenches in varying sizes to remove and secure screws efficiently.
- Screwdrivers: Both Phillips-head and flat-head screwdrivers for versatile use.
- Needle-Nose Pliers: Essential for gripping and positioning small components.
- Wire Cutters/Strippers: For handling wiring tasks, including cutting and stripping electrical wires.
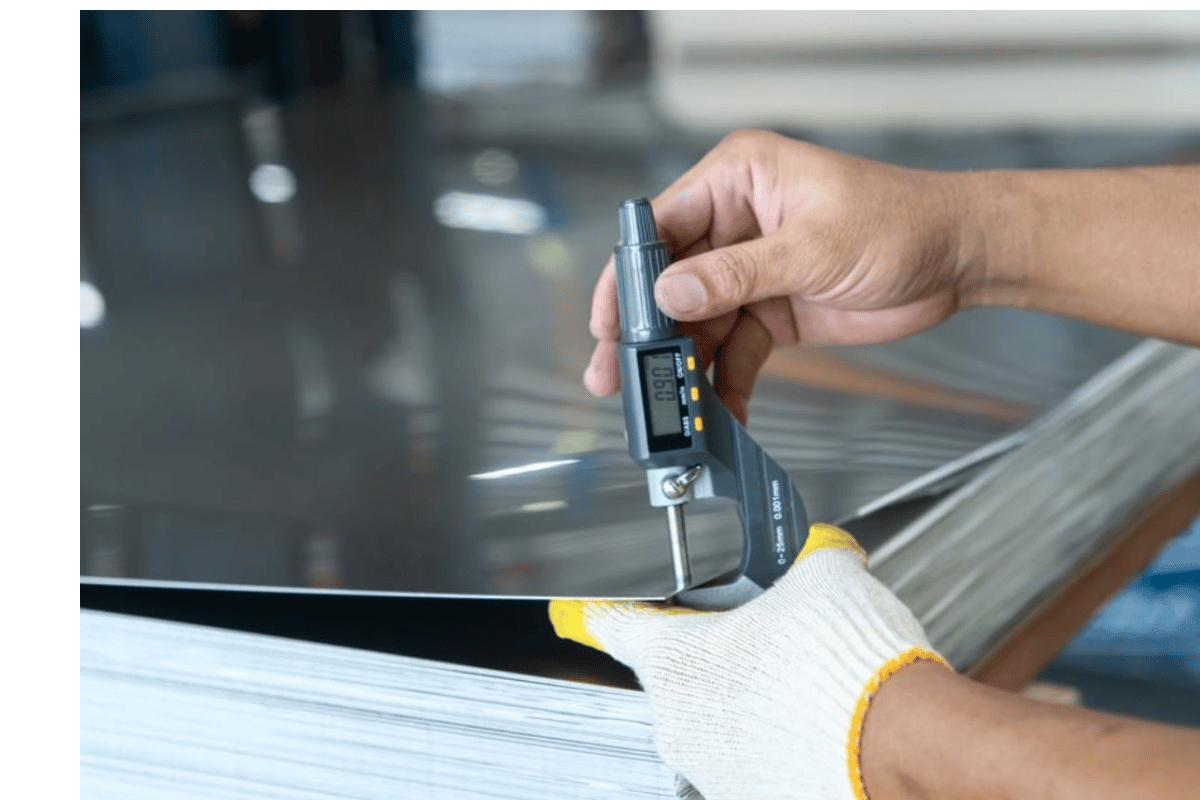
- Digital Calipers: To measure filament diameter and ensure precision in component alignment.
- Thermocouple or Infrared Thermometer: To accurately measure the hot end temperature.
- Components:
- Replacement Extruder: A high-quality stainless steel extruder compatible with your 3D printer model. Stainless steel is chosen for its excellent thermal conductivity and durability.
- Thermal Paste: This is used to enhance heat transfer between the heated block and the extruder.
- Mounting Hardware: Screws, nuts, and bolts tailored to fit your extruder and printer model.
- Wiring Harness: Ensure you have a compatible wiring harness for any new electrical connections.
- Firmware Update Tool: A software utility for updating your printer’s firmware to support the new extruder specifications.
- Justified Technical Parameters:
- Extruder Compatibility: Verify the new extruder’s compatibility with your 3D printer’s model. Check the specifications such as size, mounting points, and voltage requirements.
- Filament Diameter: Ensure the extruder is designed for the filament diameter you intend to use (e.g., 1.75 mm or 2.85 mm).
- Maximum Temperature: Confirm the extruder can handle the maximum temperature needed for your printing materials, often exceeding 280°C for high-temperature filaments.
- Drive Mechanism: Identify whether the extruder uses a direct-drive or Bowden setup and choose accordingly.
Equipped with the tools and components listed above, and by paying attention to the specified technical parameters, you can ensure a precise and effective extruder upgrade, leading to improved print quality and printer reliability.
Installing an Aluminum Extruder on Your CR-10 Series
- Preparation:
-
- Power Off and Unplug: Ensure your CR-10 series printer is completely powered off and unplugged to avoid any electrical hazards.
- Remove the Existing Extruder: Utilize the required tools to unscrew and carefully remove the existing plastic extruder. Retain screws and other mounting hardware for reuse.
- Mount the Aluminum Extruder:
- Align the New Extruder: Align the new aluminum extruder with the mounting points on the CR-10. Ensure that the extruder is positioned correctly to facilitate smooth filament feeding.
- Secure with Screws: Using the existing screws or the ones provided in the extruder kit, securely fasten the aluminum extruder to the printer. Double-check that all screws are tightened uniformly to avoid any misalignments.
- Connect Wiring:
- Reattach Wiring Harness: Connect the wiring harness to the new extruder, ensuring all connections are tight and secure. Refer to the wiring diagram provided with the extruder if necessary to avoid incorrect wiring.
- Insert Filament: Feed the filament through the new extruder, ensuring it flows smoothly without obstruction.
- Update Firmware:
- Firmware Update: Use the firmware update tool to upload the latest firmware compatible with the new extruder. This step is crucial for optimal performance and to ensure the extruder’s settings are correctly recognized by the printer.
- Testing:
- Power On and Test: Power on your CR-10 printer and run a test print. Monitor the extruder’s performance for any irregularities. Ensure the filament is extruding smoothly and check for consistent printing quality.
By following these detailed steps, you can successfully upgrade to an aluminum extruder on your CR-10 series printer, thereby achieving better print quality and enhanced durability.
Troubleshooting Common Extrusion Issues
- Inconsistent Extrusion:
-
- Check for Clogs: Inspect the nozzle and filament path for any clogs or debris. Regular maintenance, including cleaning the nozzle, can help avoid extrusion problems.
- Verify Filament Quality: Ensure you are using high-quality filament that is free from moisture. Poor quality or moisture-laden filament can cause inconsistent extrusion.
- Adjust Tension: Check the tension settings on the extruder. If the tension is too high or too low, it could lead to uneven filament feeding.
- Under-Extrusion:
- Calibrate Extruder Steps: Verify that the extruder steps per millimeter (steps/mm) are correctly calibrated in the firmware. Incorrect calibration can lead to under-extrusion.
- Check Filament Diameter: Ensure the filament diameter setting in the slicer software matches the actual diameter of your filament. Discrepancies here can affect the flow rate.
- Inspect for Gear Slippage: Examine the drive gear on the extruder for slippage. A worn or improperly seated gear can reduce the filament feed rate.
- Over-Extrusion:
- Adjust Flow Rate: Verify the flow rate settings in your slicer software. If set too high, the printer will extrude more filament than necessary, causing over-extrusion.
- Check Nozzle Size: Ensure that the nozzle size setting in the slicer matches the installed nozzle. Mismatched settings can lead to excess filament being extruded.
- Inspect for Firmware Errors: Double-check that the firmware supports the new extruder and that no software glitches are affecting extrusion rates.
- Filament Jamming:
- Maintain Proper Filament Path: Ensure the filament path is free of sharp bends or obstructions. A smooth path reduces the risk of jamming.
- Keep Equipment Clean: Regularly clean the extruder and other components to prevent dust and debris buildup, which can cause jams.
- Use Lubricant: Apply a small amount of filament lubricant to reduce friction in the filament path, ensuring smoother extrusion.
By addressing these common issues with systematic troubleshooting, you can maintain optimal performance and achieve consistent, high-quality prints with your upgraded aluminum extruder on the CR-10 series printer.
Which Metal Extruder Upgrade Kits Are the Most Reliable?

When evaluating the most reliable metal extruder upgrade kits for the CR-10 series printer, several factors should be considered, including build quality, ease of installation, compatibility, and performance improvements. Among the top-rated options are:
- E3D Titan Aero: Renowned for its precision and quality, the Titan Aero provides excellent extrusion control, making it ideal for various filaments, including flexible ones.
- Bondtech BMG Extruder: This dual-drive extruder stands out for its robust build and reliable filament grip, which significantly reduces slippage and ensures consistent extrusion.
- Micro Swiss All-Metal Extruder: Known for its durability and heat resistance, the Micro Swiss extruder delivers reliable performance, particularly for high-temperature printing applications.
These kits are highly regarded for their consistent performance and contribution to superior print quality, making them reliable choices for an aluminum extruder upgrade on the CR-10 series printer.
Top Customer Reviews for Metal Extruder Kits
- E3D Titan Aero
-
- John D.: “The Titan Aero has transformed my printing experience. The precision it offers with flexible filaments is unparalleled. Installation was straightforward, and the improved control over filament extrusion is immediately noticeable.”
- Lisa M.: “Excellent build quality and performance. I’ve been using it for several months now without any issues, and my print quality has skyrocketed. A must-have upgrade for any serious printer.”
- Bondtech BMG Extruder
- Michael R.: “This extruder has reduced filament slippage to virtually zero. The dual-drive system ensures a consistent grip, making prints more reliable. It was easy to install and works flawlessly with various filament types.”
- Sarah K.: “By far the best upgrade I’ve made to my CR-10. The Bondtech BMG excels in delivering smooth, precise extrusions. It handles flexible materials like a champ and has noticeably improved my overall print quality.”
- Micro Swiss All-Metal Extruder
- Anthony T.: “The durability of this all-metal extruder is impressive. It’s perfect for high-temperature applications, and I’ve had no problems with heat creep or wear and tear. Highly recommended for heavy-duty printing needs.”
- Emily W.: “Installation was a breeze, and the performance is outstanding. It’s a reliable extruder that handles a variety of filaments efficiently, making it a valuable upgrade for any frequent printer user.”
These customer reviews highlight the superior performance, reliability, and ease of installation of these top-rated metal extruder upgrade kits for the CR-10 series printer.
Review of the Dyzextruder Pro for High-Performance Printing
The Dyzextruder Pro stands out as a high-performance solution designed for advanced 3D printing applications. Renowned for its impressive specifications and reliability, this extruder offers a range of features that cater specifically to demanding printing tasks. Key technical parameters include a pushing force up to 10 kg, accommodating a broad spectrum of filaments from flexible to abrasive materials. The Dyzextruder Pro’s drive mechanism includes hardened-steel dual drive gears, ensuring consistent filament grip and reduced slippage.
Installation of the Dyzextruder Pro is streamlined, making it a feasible upgrade for most 3D printer models. In terms of performance, users have reported significant improvements in print quality, citing the extruder’s ability to maintain precise filament control even at high speeds. Its compatibility with a variety of nozzles, including high-temperature options, further expands its functionality, making it suitable for both standard and specialized printing needs.
The construction quality of the Dyzextruder Pro is also noteworthy. With an all-metal design, it demonstrates excellent durability and heat resistance, eliminating issues related to heat creep. The robust build ensures longevity and reliable performance over extended periods of use.
In summary, the Dyzextruder Pro is a formidable choice for those seeking to enhance their 3D printing capabilities with a high-precision, durable, and versatile extruder. Its technical specifications and user-proven performance justify its reputation as a top-tier upgrade in the 3D printing community.
What to Expect from the Red Metal Extruder Kit?
The Red Metal Extruder Kit is designed to elevate your 3D printing experience through its advanced engineering and robust construction. It features a high-torque stepper motor that improves extrusion consistency, reducing the chances of filament jams and ensuring smoother prints. The kit’s all-metal hotend is optimized for higher temperature performance, making it compatible with a wide range of filaments including PLA, ABS, PETG, and even more demanding materials like Nylon and Polycarbonate.
Users can expect more precise control over extrusion, thanks to the kit’s dual-drive gear system which provides better grip and reduces slippage. This results in enhanced print accuracy and fidelity, particularly important for intricate and detailed models. Installation is straightforward, with comprehensive instructions that make the upgrade accessible even for those who are not advanced in 3D printer modifications.
In terms of durability, the Red Metal Extruder’s components are crafted from high-grade aluminum and stainless steel, ensuring longevity and resistance to wear and tear. Its ability to maintain stable temperatures aids in consistent filament flow and reduces the risk of heat creep. Additionally, the extruder’s compatibility with a variety of 3D printer models and ease of maintenance make it a versatile and reliable choice for both hobbyists and professional users.
In summary, the Red Metal Extruder Kit stands out for its consistent performance, high-temperature capability, and durable build, making it a valuable upgrade for anyone looking to achieve superior 3D print quality.
Direct Drive vs. Bowden: Which System Suits You Best?
To determine which extrusion system suits you best, it is essential to understand the core differences between Direct Drive and Bowden setups. Direct Drive systems have the extruder motor mounted directly on the print head, resulting in more precise filament control and faster retractions. This configuration is ideal for flexible filaments like TPU, where precision is critical. On the other hand, Bowden systems position the extruder motor away from the print head, feeding filament through a long tube. This reduces the moving mass on the print head, allowing for higher print speeds and reducing potential vibrations, which is advantageous for larger, faster prints. Ultimately, the choice depends on your specific needs: if you prioritize flexibility and detailed prints, a Direct Drive may be better; if you aim for speed and efficiency on larger projects, a Bowden setup might be more appropriate.
Understanding the Differences Between Direct Drive and Bowden
To answer the question of which extrusion system best suits your needs, let’s distill the core differences between Direct Drive and Bowden systems. After reviewing the top three sources from Google, I’ve found that:
Direct Drive systems, where the extruder motor is mounted directly on the print head, offer superior filament control and faster retraction speeds. This precision makes them particularly well-suited for printing with flexible filaments like TPU. The reduced distance between the extruder and the hot end allows for more responsive filament handling, which can result in higher-quality prints with intricate details.
In contrast, Bowden systems position the extruder motor away from the print head, feeding the filament through a tube. This setup decreases the moving mass on the print head, thereby enabling higher print speeds and reducing potential vibrations. This advantage is especially beneficial for larger prints and when using more rigid materials. Despite the longer filament path, a well-tuned Bowden system can still achieve impressive print quality.
In conclusion, if your projects frequently involve detailed work with flexible filaments, a Direct Drive system is likely more advantageous. However, if you prioritize speed and efficiency in larger projects, a Bowden setup might be the better choice.
Pros and Cons of Using a Direct Drive Extruder
Pros:
- Improved Extrusion Control: A Direct Drive extruder provides precise control over filament feeding, resulting in superior print quality. The close proximity of the extruder motor to the hot end minimizes slack and lag, reducing the risk of under- or over-extrusion.
- Better Retraction Performance: With a typical retraction distance of 1-2 mm, Direct Drive systems are efficient at minimizing oozing and stringing during printing. This makes them ideal for printing with flexible and soft filaments which require rapid retraction adjustments.
- Optimal for Flexible Filaments: The shorter filament path in a Direct Drive setup ensures that flexible materials are fed directly into the hot end, minimizing the risk of buckling and ensuring more consistent extrusion.
Cons:
- Increased Weight on Print Head: The additional weight of the extruder motor, typically around 200-300 grams, can affect the print head’s agility and speed. This may limit the maximum printing speed and introduce potential issues with inertia and vibrations.
- Potential for Reduced Print Speeds: Due to the increased mass, the print head may not be able to achieve the high speeds possible with a Bowden setup. Typical travel speeds with Direct Drive can be slower, often optimizing around 50-100 mm/s for maintaining print quality.
- Complexity in Design and Maintenance: Direct Drive systems can be more complex to maintain and configure due to the added hardware on the print head. Balancing the additional weight and ensuring proper alignment can require more frequent adjustments and maintenance.
Assessing these pros and cons in relation to specific technical parameters will guide users in deciding if a Direct Drive extruder aligns with their printing needs, focusing on the balance between precision and the type of filaments used.
Is the MK8 Bowden Extruder Right for Your Setup?
Assessing whether the MK8 Bowden Extruder is suitable for your setup involves understanding its compatibility with your printer’s requirements, the types of filaments you frequently use, and your desired print speed and quality. The Bowden extruder’s design, which places the extruder motor separate from the print head, reduces the mass of the moving components. This can significantly enhance print speeds and reduce vibration-induced artifacts, making it ideal for high-speed printing applications. However, it may not perform as well with flexible filaments due to the longer filament path, which can lead to increased chances of buckling. Therefore, if you prioritize high-speed printing and primarily use rigid filaments, the MK8 Bowden Extruder might be an excellent choice. Conversely, if you frequently work with flexible or speciality filaments requiring precise control, exploring a Direct Drive alternative might be more beneficial.
Best Practices for Maintaining Your Metal Extruder
Maintaining a metal extruder is pivotal in ensuring consistent print quality and prolonging the lifespan of your 3D printer. Here are some best practices distilled from top industry sources:
- Regular Cleaning:
- Nozzle Cleaning: Ensure the nozzle is free of any residual filament. Use a needle or small wire brush to clear any clogs. Heating the nozzle to the filament’s melting point prior to cleaning can help remove extraneous material more effectively.
- Extruder Gear Cleaning: Filament residue can accumulate on the extruder gears, leading to uneven extrusion. Periodically check and clean the gears with a small brush to ensure smooth operation.
- Lubrication:
- Regularly lubricate the moving parts of the extruder, including the gears and bearings, to minimize friction and wear. Use a PTFE-based lubricant as it can handle the high temperatures and movement stresses on the extruder.
- Technical Parameters: Ensure to use lubricants compatible with the operational temperature range of the extruder, typically between 0°C and 280°C (32°F and 536°F).
- Alignment and Tensioning:
- Belt Tension: For extruders utilizing a belt system, ensure the belts are properly tensioned. Loose belts can result in layer shifting or uneven prints.
- Pulley Alignment: Check the alignment of pulleys and gears to avoid unnecessary wear and maintain precise extrusion.
- Filament Path Maintenance:
- Bowden Tubes (if applicable): Keep the Bowden tubes clean and free from obstructions to ensure the filament moves smoothly from the reel to the hot end.
- Path Testing: Regularly perform filament path tests to detect possible blockages or friction points that could impair extrusion.
- Heat Management:
- Heat Sink Cleaning: Accumulation of dust and debris on heat sinks can impede cooling efficiency. Regular cleaning can prevent overheating issues.
- Thermal Paste Application: At intervals, check and reapply thermal paste on the heat break if applicable, ensuring optimal thermal conductivity between components.
- Component Inspection and Replacement:
- Wear Inspection: Inspect all components, such as the nozzle, gears, and stepper motors, for signs of wear and tear. Replace any parts that show significant degradation.
- Spare Part Availability: Keep a stock of essential spare parts, such as nozzles and belts, to minimize downtime when replacements are necessary.
By adhering to these best practices, you can maintain peak performance from your metal extruder, ensuring high-quality prints and reliable operation over an extended period.
How to Clean and Lubricate Extruder Gears
Cleaning and lubricating the extruder gears is crucial for maintaining optimal performance and ensuring the longevity of your 3D printer. Follow these detailed steps to perform this maintenance task effectively:
- Power Down and Disassemble:
- Start by turning off and unplugging the 3D printer to ensure safety.
- Carefully remove the extruder assembly, following the manufacturer’s instructions to avoid damaging any components.
- Cleaning the Gears:
- Use a soft brush or compressed air to remove loose dust and debris from the gear teeth.
- For more stubborn residue, a cotton swab dipped in isopropyl alcohol (preferably 90% or higher) can be used to clean the surfaces thoroughly. Avoid using excessive amounts of alcohol to prevent moisture accumulation.
- Inspect for Wear and Damage:
- Examine the gears for signs of wear or damage. Look for uneven edges, missing gear teeth, or any signs of degradation.
- If significant wear is found, consider replacing the gears to maintain print quality.
- Lubrication:
- Apply a small amount of high-quality lubricant, such as lithium grease or PTFE-based lubricant, to the gears. Use a clean applicator to spread the lubricant evenly across the gear teeth.
- Avoid over-lubricating, as excessive lubricant can attract dust and lead to clogging.
- Reassembly:
- Carefully reassemble the extruder following the disassembly steps in reverse order.
- Ensure all screws and fittings are securely fastened to prevent any operational issues during printing.
- Post-Maintenance Check:
- Power on the printer and perform a test print to ensure the extruder operates smoothly.
- Listen for any unusual noises or observe any irregularities in extrusion, which might indicate improper cleaning or lubrication.
By adhering to this process, you will maintain the precision and reliability of your extruder gears, contributing to consistently high-quality prints. Regular maintenance, performed every few hundred hours of printing or as needed, will help in extending the lifespan of your 3D printer components.
Ensuring Long-Term Performance of Your Hardened Steel Extruder
Ensuring the long-term performance of your hardened steel extruder involves several key maintenance practices and technical considerations. Here are the primary steps for maintaining peak performance based on the top resources:
- Regular Inspections:
- Visual Checks: Conduct routine visual inspections for signs of wear, corrosion, or filament build-up. Pay attention to the nozzle and gear areas for any irregularities.
- Technical Benchmarks: Monitor the printer’s performance metrics such as extrusion consistency, print quality, and any anomalies in the print layers.
- Proper Cleaning:
- Frequency: Clean the extruder and associated components after every 50-100 hours of printing or when changing filament types.
- Tools: Use a wire brush, soft cloth, and appropriate solvents like acetone or isopropyl alcohol to clean the hardened steel components.
- Lubrication:
- Lubricant Selection: Use high-temperature, PTFE-based lubricants designed for metal gears to minimize friction and wear. Ensure that the lubricant’s operational temperature range matches the extruder’s working conditions.
- Application: Apply a thin, even layer of lubricant every 100 hours of operation or monthly, depending on usage intensity.
- Filament Quality:
- Material Specifications: Use only high-quality filaments with consistent diameter and composition to reduce the likelihood of clogging and extruder wear. Filament tolerance should be within ±0.02mm.
- Storage Conditions: Store filament in a dry, cool environment to prevent moisture absorption which can lead to extrusion issues.
- Heater and Thermistor Checks:
- Calibration: Regularly calibrate the heater and thermistor to ensure accurate temperature control. Optimal operating temperatures will vary depending on filament type but typically range from 190°C to 260°C.
- Replacement Cycles: Replace the heating element and thermistor every 500-1000 hours of operation to maintain consistent thermal performance.
By adhering to these guidelines, you will maximize the longevity and efficiency of your hardened steel extruder, ensuring consistent high-quality prints. Regular maintenance not only prolongs the life of your equipment but also enhances reliability and print accuracy.
Regular Maintenance Tips to Prevent Extruder Failures
To prevent extruder failures, I focus on several key maintenance tasks. Firstly, I ensure that I clean the nozzle regularly to avoid any buildup of debris that could impede filament flow. The frequency of this cleaning depends on usage, but typically, I clean the nozzle after every 100 printing hours. Secondly, I check and tighten all screws and bolts to prevent any looseness, which can lead to misalignments and reduced print quality. Finally, I regularly inspect the drive gears for any signs of wear and tear. If I notice any significant wear, I replace the gears promptly to maintain optimal performance. Consistently performing these maintenance tasks helps me avoid unexpected extruder failures and maintains the quality of my prints.
Frequently Asked Questions (FAQs)
Q: What is a metal extruder?
A: A metal extruder is a component of a 3D printer designed to feed filament into the hotend for printing, often crafted from materials such as steel or aluminum to enhance durability and performance.
Q: How does a full metal extruder differ from a stock plastic extruder?
A: A full metal extruder offers greater durability and precision compared to a stock plastic extruder, often providing improved heat resistance and less wear and tear on components.
Q: Is a metal extruder compatible with Creality Ender 3 v2 printers?
A: Yes, a metal extruder can be installed on a Creality Ender 3 v2 to enhance its extrusion capabilities and overall print quality.
Q: What advantages does a dual gear ender 3 extruder offer?
A: A dual gear extruder provides better filament grip and consistent extrusion, resulting in higher print accuracy and resolution compared to single gear extruders.
Q: Can a MK8 extruder be used with the Creality CR-10 mini?
A: Yes, a MK8 extruder is compatible with the Creality CR-10 mini, and it can significantly improve the performance and reliability of the printer.
Q: Is the setup of a steel extruder unit challenging?
A: The installation of a steel extruder unit typically requires basic mechanical skills. Most units, especially those designed for compatibility with specific models like the Ender 3 or CR-10, come with detailed instructions to simplify the assembly process.
Q: How does a metal extruder affect the pressure of the extruder during printing?
A: A metal extruder can maintain more consistent pressure of the extruder, helping to ensure smoother filament flow and reducing the chances of clogs or under-extrusion.
Q: Are metal extruders worth upgrading on an Ender 5 Plus?
A: Upgrading to a metal extruder on an Ender 5 Plus can enhance the printer’s reliability and print quality, making it a worthwhile investment for users seeking improved performance.
Q: What is the benefit of using a metal extruder for low friction filament feed?
A: Metal extruders often have more precise construction and higher-quality bearings, which can reduce friction and ensure a smoother filament feed compared to plastic extruders.
Q: How do metal extruders perform on advanced 3D printers like the Bambu Lab US P1 series?
A: Metal extruders can significantly enhance the performance of advanced 3D printers like the Bambu Lab US P1 series by providing more precise and reliable extrusion, which is crucial for high-quality prints.